We use cookies to give you the best possible experience. To accept cookies continue browsing, or view our Cookies Policy to find out more.
The Ultimate Guide To Cotton Fabric Manufacturing: Part 5 - The Finishing Process
|
January 14th, 2021
Now that the weaving process is complete (read about that in part 4 here) it’s time to move onto the fabric finishing process.
After weaving, the fabric is called greige cloth or loom-state and it has a dull appearance that can look cream or grey. It also has a harsh feel and is non-absorbent. Finally, it will also still hold some impurities such as oil from the spinning process and sizing chemical from the weaving process.
Fabric finishing is a series of processes that includes both physical and chemical finishes that work to convert the griege (loom-state) cloth into finished fabric. Finishing adds value to the product and makes it fit for use in the end product
The finishing processes will ultimately give the fabric all the characteristics you would want to see, such as:
- Dyeability/printability
- Absorbency
- Whiteness
- Soft, smooth hand feel
- Enhanced appearance
There are difference stages during fabric finishing that gives the fabric those unique characteristics. A typical fabric finishing process will consist of singeing, desizing, scouring, bleaching, mercerising (optional), and drying. The fabric can also be dyed, or different fabric finishes can be applied.
We’ll now go into detail on each aspect of the finishing process.
Singeing

Only bed linen will go through the first singeing stage and we’ll explain why that is the case in a moment. During this process, the hairs on the fabric surface are burned away by passing the fabric very quickly over a flame. The fabric is first passed over brushes to encourage the fibres to raise before it is then passed over a plate that has been heated by gas flames.

So, for example, fabric using carded yarns rather than combed or yarns spun with shorter fibres would be hairier, making this process more critical. Burning away the fibres gives a much smoother, less hairy fabric. As a result, the fabric is much more resistant to pilling as there are less hairs on the surface to form the pills or bobbles.
The reason this process is only done on bed linen and not on our towels is that the pile loops would set on fire. You also don’t really want a towel to be flat and smooth as you do with bed linen.
Desizing
The next stage is desizing. This is often done straight after singeing with the fabric running straight into the desizing solution bath, which is useful because it will put out any lingering flames.
The reason this stage is done is because a sizing chemical is applied to the warp yarns before weaving to give the yarns strength and lubrication so that they don’t break during the weaving process. Unfortunately, that chemical also makes the fabric stiff and unabsorbent so it needs to come off.
To remove the sizing chemical, the fabric is treated with a desizing chemical that breaks down or solubilises the size chemical so it can be easily washed out of the fabric. The fabric is washed in detergent to fully remove the broken down size.
As a result, the fabric is a more ‘wettable,’ absorbent fabric and is now ready for the next stage.
Scouring
The scouring stage is a chemical cleaning process that removes the left-over impurities. These left-over impurities will be things such as natural wax and oil, spinning lubricants, size chemical residue and non-fibrous impurities such as the remains of seed fragments, plus any soiling and general dirt that may have occurred during earlier stages in the textile manufacturing process.
The fabric is given a good wash in alkali (caustic soda) and detergent at a high temperature for 60 minutes. This process is usually carried out in iron vessels known as kiers. As these are enclosed environments, it allows the fabric to be boiled under pressure.
The scouring stage removes impurities to give a clean absorbent fabric ready for bleaching, as the fabric tends to be a yellowish colour at this stage.
Bleaching/whitening
The bleaching stage is carried out to remove the natural colouration of the fabric and any trace impurities left over from earlier stages.
The fabric is immersed in bleaching agent, which is a mixture of hydrogen peroxide/caustic soda and other necessary chemicals. This done at a high-temperature, typically 100°C, for a period of time needed to complete the bleaching action. It is then thoroughly washed, rinsed, and dried.
The result is a clean, white absorbent fabric that has a decolourisation of any visible impurities. It is now ready for dyeing/printing or the final finish process.
If the fabric isn’t going to be dyed or printed and is to remain white, then an optical brightening agent (OBA) is added during the bleaching stage. This acts a bit like a dye and gives the fabric a much brighter and whiter appearance, such as the kind you see in most white linens.
Mercerising
The next stage is mercerising, although this is an optional process as not all bed linen is mercerised. It’s generally reserved for only the best quality bed linen where mercerising plays a key part in creating it.

The mercerising process swells and shrinks the cotton fabrics by treating it in strong caustic soda. This alters the fibres structure. You can see the clear difference in the photos above, which show a microscopic view of a cotton fibre when it isn’t mercerised versus when it is mercerised.
The process may be carried out before or after bleaching. The fabric (or yarn) is passed through concentrated sodium hydroxide under tension, but all alkali must be washed out before the tension is released or shrinkage will take place. The flat twisted cotton fibres will swell into cylindrical shape while the fibres shrink in length.
The benefits of mercerising include improved wash shrinkage, as the fabric shrinkage will be much lower when washed. For example, duvet covers will still fit comfortably on duvets. The fabric also benefits from increased strength, a higher lustre, more absorbency, and a softer hand feel.

You may notice on some towels that they are shaped like an hourglass around the header bar and the body of the towel is wrinkled (as seen in the photo above). This is where the yarn in the header bar has shrunk more than the rest of the towel due to the weave pattern in the header.
In the towel in the middle of the photo, the yarn in the header bars is mercerised. This stops the header from shrinking so the width of the towel stays even from top to bottom, giving a nice presentable towel.
Drying
The final stage of finishing is the drying of the fabric and the addition of any final chemicals depending on what properties are required in the end product. That’s normally done a machine called a stenter.

A stenter consists of a series of sequential heated chambers that are adjustable to the width of the fabric being treated. The fabric is inserted into the heated chamber and is supported at either selvedge by pins or clamps so that the fabric is supported as it passes through drying burners.
The stenter controls the input and output speed of the fabric, as well as the output width, to determine the moisture content of the fabric after the drying process is complete.
At this point, finishing chemicals can also be applied to the fabric. This includes finishing chemicals that will give the fabric waterproof, flame retardant, wrinkle-free etc. protection, depending on what is needed from the fabric.
Physical Finishes on and off the Stenter
Another function of the stenter includes heat setting, which helps stabilise synthetic fabrics such as polyester or nylon.
Heat setting is done on polyester/cotton blends. The fabric is heated to 180 – 200°C and pulled out to the correct width/length. Polyester is a plastic, and it softens and becomes pliable when heated so the fabric will pull out. When it’s the cooled, the polyester will become set or fixed in those dimensions, just like when you cool down hot plastic. That improves the dimensional stability, meaning it will shrink to a much lesser degree when washed.
To sum up, the result of heat setting is improved shrinkage resistance, a firmer hand feel, and a resistance to wrinkling.
Other physical finishes can be applied which are not done on the stenter, such as calendaring. This process gives the fabric a high sheen by pressing it between heavy rollers at a high temperature.
The result is that fabric surface becomes flattened, which reflects the light and gives it a glossy appearance. However, the fabric can also feel thinner because it’s been flattened.
Another finish is compacting or sanforising where the threads are physically pushed together by rotating cylinders, which effectively shrinks the fabric. However, this does reduce the potential for excessive shrinkage during laundering.
Chemical Finishes
As already mentioned, chemicals can also be applied to the fabric at the end of processing to give the fabric different properties.
For example, chemicals that soften the fabric can be added to improve their feel. On bed linen, an anti-pill finish can be applied to increase the ability of the textile to resist abrasion, which helps to stick the fibres down to stop them raising up and forming bobbles.
Optical Brightening Agents or OBA’s can also be added at the end of the process rather than during bleaching to give the fabric a much brighter whiteness.
Chemicals which change the behaviour of the fabric surface can be added to make the fabric more absorbent or to help the fabric release stains more easily and not hang on to them. Most of the finishes do, however, mean an extra stage in the process or the use of an extra chemical.
That costs the manufacturer more time and money as they must invest in the machinery that’s capable of producing this. They must also purchase the extra chemicals. Ultimately, it slows down the overall process which means, of course, that the final product will cost more!
That's a wrap on the finishing process. Next time we'll be looking at the product makeup of the finished products.
As always, you can read the other parts of our guide by clicking on the links below.
The full guide:
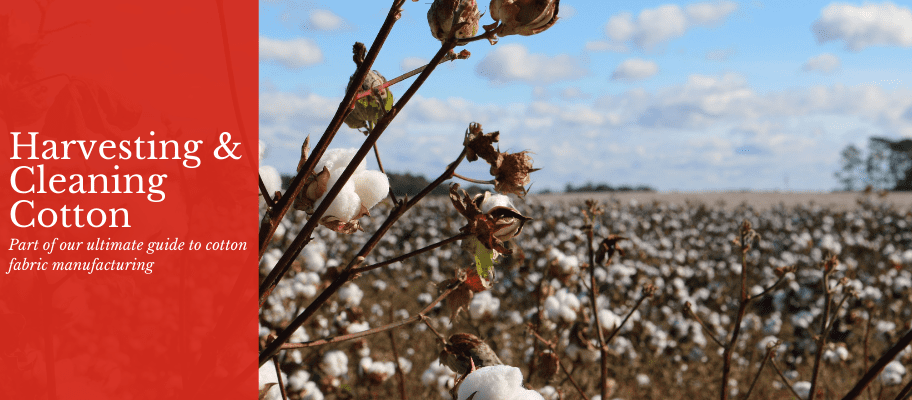
Read Part One - The Harvesting and Cleaning Process
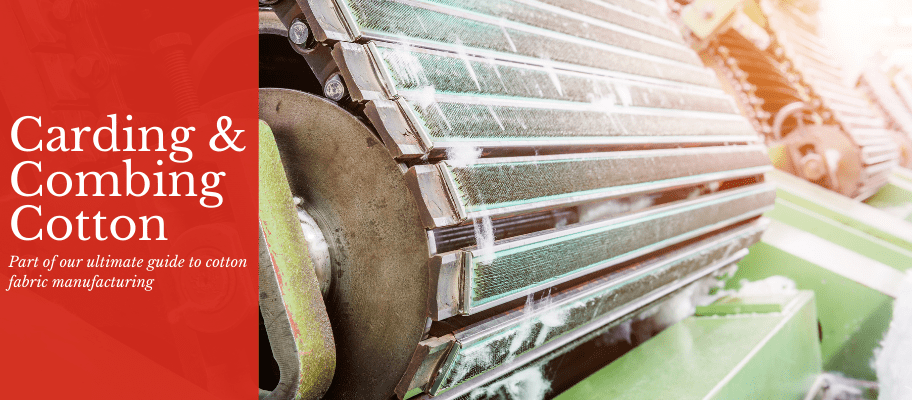
Read Part Two - The Carding and Combing Process
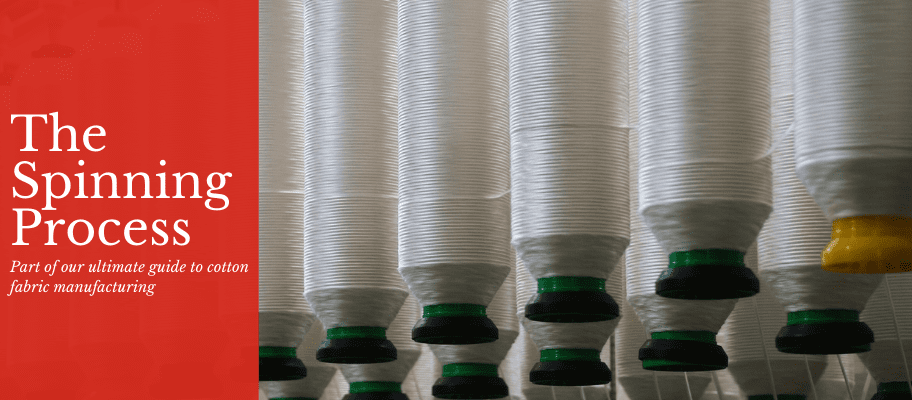
Read Part Three - The Spinning Process
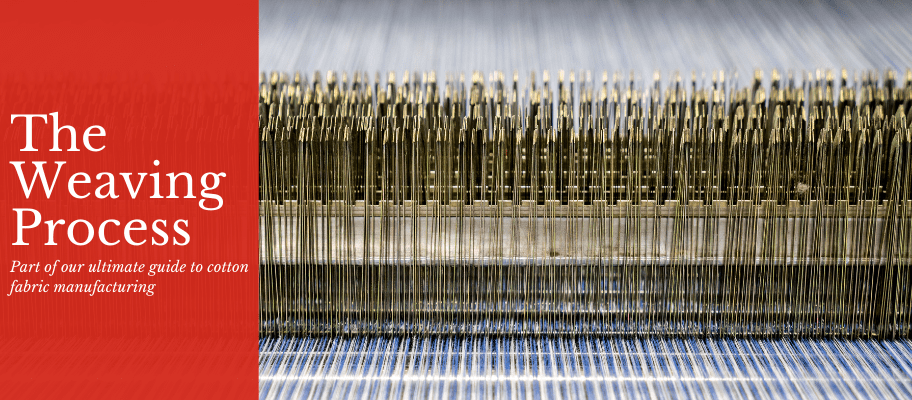
Read Part Four - The Weaving Process
Read Part Five - The Finishing Process
Read Part Six - The Product Makeup Process For Bedding & Towels

Recent Posts


Related Posts